
|
Marque Specific Information |
In my opinion the location of the Q4 intercooler has always been a limiting factor in its efficiency. Tucked away infront of the nearside front wheel,hidden behind a fog light, it is never going to get the airflow required to let it function correctly. This article goes into the modifications I've made to my own Q4 in order to finally get some air flowing over the intercooler.
Before starting on the modifications I attached a temperature probe to the rear of the intercooler, and took the car out for a run to get some baseline figures.
The ambient temp under the
bonnet before switching the engine on was 24.4°C
After about 15 mins running without using any boost to get the engine
up to temp the intercooler temp was 27.5-28.5°C when driving. Water
temp 85°C and oil temp 70°C
When stationary before a full boost run this temp dropped back to 26.7°C
After a full boost run from stationary to @180kmh the intercooler temp
peaked at 41.4°C. The temp peaked approx 30 seconds after coming
off the throttle. Most interestingly on a no boost run back to the garage
the intercooler temp only dropped back to 33.6°C. With the oil
temp running at 80°C and water at 85°C
 |
 |
| This shot shows the front of the car minus the bumper. As you can see, both the intercooler and oilcooler have shrouds on them to try and deflect the small amount of air that gets through the bumper over the coolers. | The shroud infront of the intercooler is particularly restrictive. The opening is only about 1/4 of the surface area of the intercooler. Obviously improving the bumper infront of the intercooler and removing the shroud will improve airflow over the intercooler. |
 |
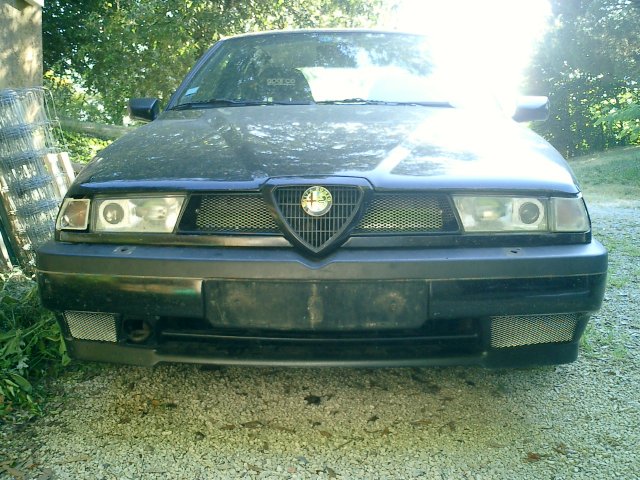 |
| The oilcooler shroud is if anything even worse. There is no opening in the bumper infront of the cooler, and the shroud has to try to deflect air from the small opening in the bumper that is used for the towing eye. Removing this, and modifying the bumper should again improve its cooling efficiency. | This pic shows the new look bumper, with the moldings for the fog lights removed and the openings at the front of the bumper increased in size. The openings have then been covered with aluminium mesh to prevent stones etc from damaging the coolers. |
 |
 |
| This is the new and improved intercooler shroud. The opening has been increased in size to funnel more air over the intercooler. I will still be using a shroud rather than just removing it, to make sure that air gets directed towards the intercooler rather than being allowed to flow out under the intercooler. The nozzle and hose are part of the waterspray kit that I am installing. | Here is the rear view of the shroud which gives a better view of the water spray nozzle. The shroud will need a little reinforcement as removing alot of the plastic from the front has left it rather flexible. Hopefully having the nozzle in the centre of the intercooler won't impede airflow too much and will make sure that the spray gets to all of the intercooler. |
 |
 |
| Here is a mockup of the pump and nozzle for the waterspray, I used it to test the spray to make sure the pump was up to the job and the spray pattern was ok. | Click on the above image to see a small video of the spray in action. |
|